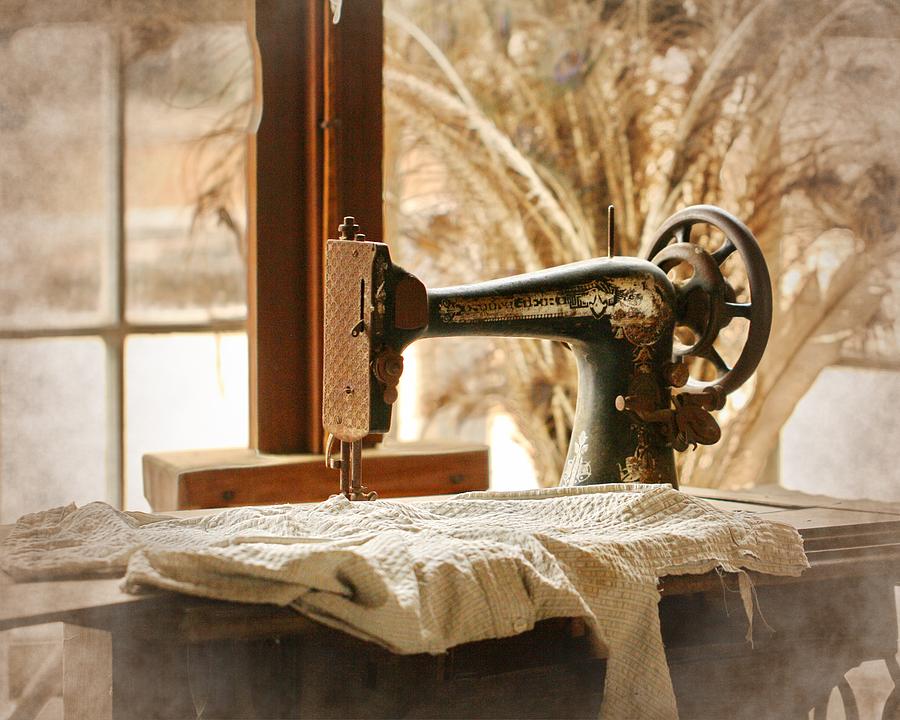
Is it the case that just a few days back you got the heritage old sewing machine of your grandfather who was an excellent tailor? Then it’s great as we always know that old is gold. The performance and command you can have with the old machine are hard to beat by today’s technologically advanced sewing machines. If you are a beginner in tailoring work, then you need first to learn how to use the old sewing machine.
A look at the machine:
You need to first know the mechanism of the machine. You will find several small hooks which are usually involved with the thread to be used somehow. Invest some time to take a look at each one of them before you make an effort to fix the thread in the machine. If you don’t do that, then the chances are high that you might need to redo the same thing several times.
Putting the thread in the machine:
We prefer to begin using the top thread to move it right through the machine
First, you need to weave your thread right through the hook located at the top for changing the direction so that the thread can start to head down.
In the very next step, you need to pass the thread right via the tension assembly. It will keep control of the required tension which needs to be applied on the needle at the time of sewing. Here the level of adjustment of the tension will depend on the nature of the fabric which you are going to sew.
In the Next step, you need to thread via the uptake lever. The surprising fact is that every sewing machine, including the most advanced ones so, have this particular lever in it.
Now you will see a series of hooks (3) which will be available to guide sewing thread to move down towards the needle. Now Hook your thread passing via each of the three hooks. Now thread your sewing machine needle, and you are ready to start sewing.
Placement of bobbins in the casing:
Now once the set up of the sewing machine is done, it is time to set up machine bobbin. The initial step for bobbin set up will be to put up bobbin in the bobbin case.
It is the common area where most of the beginners face issues, and that is because as there are no clear cut directions about the right way in which the bobbin should go. If you go by our advice, then we will say to ensure the bobbin is threading out via counterclockwise.
Now you need to start by placing the bobbin in the casing. Next, thread it through the small space located right on the top for moving the thread exactly via the special gap. Finally, you need to test your bobbin to ensure that the bobbin makes movement counter clockwise inside the casing.
Putting the bobbin in the machine:
Once the bobbin is placed inside the casing, you need to place it inside the machine. You will get the sound of a snap if the bobbin gets placed securely inside. If you miss a snap, then it’s a clear indication that the bobbin is not in the right way. In this situation, if you move on to start sewing, then it will surely fall out.
To place the bobbin thread correctly in the machine here is an easy trick.
First, you need to hold machine top thread present in the machine
Now move the hand wheel with your hand till the time the needle completes one full-stitch.
Next, with absolute attention pull your top thread, it will slowly guide the thread of bobbin to move up and out.
Now you are completely ready to strict whatever you want using your grandfather’s old sewing machine.

